 Fernbrook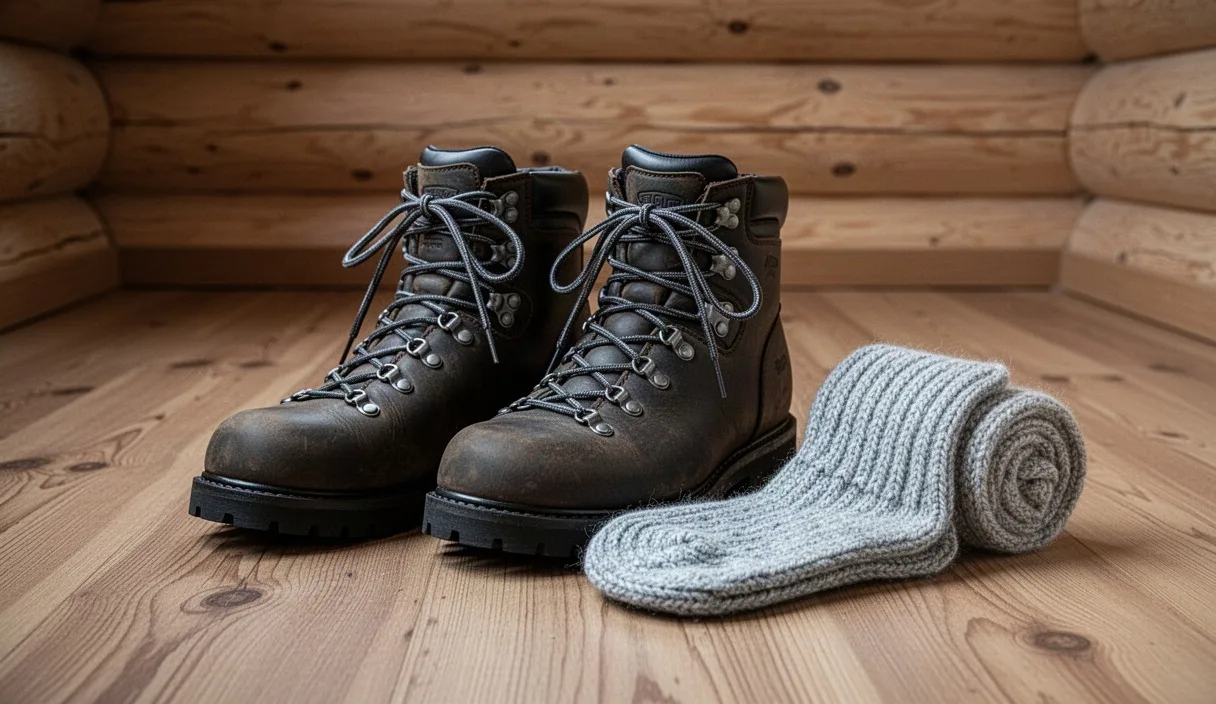

There is a particular kind of misery reserved for hikers who decide, three days before departure, that new boots straight out of the box will be fine once the trail softens them up. They will not. Leather and synthetic uppers, midsole foams, and the internal architecture of a modern hiking boot all require a period of mutual adjustment with the wearer's foot, and skipping that period tends to announce itself around mile eight of day one, usually as a blister in a place you did not know could blister.
Breaking in boots properly is neither glamorous nor complicated, but it does require a bit of planning and an honest assessment of how your feet behave under load. This guide walks through the reasoning behind a break-in period, how to structure the walks that make it work, what to do about socks and lacing along the way, and roughly how much lead time to give yourself before a multi-day trip.
Why the Break-In Period Matters for Multi-Day Trips
A boot fresh from the shelf is, structurally speaking, still stiff in ways it will not remain after twenty or thirty hours of walking. The midsole foam has not yet compressed to match your gait, the upper materials, whether full-grain leather, nubuck, or a synthetic mesh and TPU combination, have not yet flexed at the points where your foot naturally bends, and any internal seams or overlays have not yet settled against your skin. On a day hike, these mismatches are annoying. On a multi-day trip carrying fifteen to twenty-five pounds, they become the difference between a manageable trek and one cut short by foot damage.
The stakes are higher on multi-day trips for a simple reason: there is no going home to change footwear. A hot spot that would resolve itself with a change of socks and an evening off your feet becomes, over consecutive days, an open blister, then a blister on top of a blister, then a hiker limping and favoring one side, which shifts strain to knees and hips. Physical therapists who work with distance hikers routinely note that gait compensation from foot pain is a common secondary cause of overuse injuries higher up the leg, so the boots are not just a comfort issue.
There is also a load-bearing consideration specific to backpacking boots, which tend to be stiffer and higher-cut than trail running shoes or approach shoes. That stiffness exists to support ankles and protect feet on uneven terrain, but it also means the break-in period has more work to do. A soft-soled trail shoe might need two or three wears before it feels natural. A full-grain leather backpacking boot with a shank in the midsole can take considerably longer, sometimes six to ten hours of cumulative walking before it stops feeling like a separate object strapped to your foot.
Short Walks Before Committing to Distance
The first mistake most people make is skipping straight to a long test hike, as though a single eight-mile outing will reveal everything. It will reveal quite a lot, usually all of it unpleasant, but it will not give you the chance to catch problems while they are still small. The better approach is a series of short, low-stakes walks that build gradually.
A reasonable sequence looks something like this:
- Around the house, 30 to 45 minutes: Wear the boots while doing chores or errands indoors and in the yard. This sounds trivial, but it lets you notice immediately if a boot is simply the wrong size or width before you have committed to going outside.
- Neighborhood walk, 2 to 3 miles, unloaded: No pack, flat ground, just the boots and your regular hiking socks. This is where you first notice heel slip, toe box tightness, or a seam pressing somewhere unexpected.
- Local trail walk, 4 to 6 miles, light pack: Add ten to fifteen pounds and some elevation change if you have access to it. This is closer to real conditions and tends to surface issues that flat pavement walking hides, particularly around the ankle collar and on descents where toes push forward.
- Full-load shakedown hike, 8 to 12 miles, full pack weight: This should mimic your actual trip as closely as possible, including the socks, insoles, and gaiters you plan to use. If the boots pass this test comfortably, they are very likely ready.
Spacing these walks out, rather than doing them on consecutive days, gives your feet time to recover and gives you a clearer read on whether a discomfort is a real fit problem or just first-day stiffness. Two weeks with walks every three or four days is a reasonable cadence for most people.
Sock Layering During the Adjustment Period
Socks are not an afterthought in the break-in process, they are one of the variables you are actually testing. A boot that feels snug with a thin liner sock might feel correct, or uncomfortably tight, once you switch to the thicker merino wool sock you intend to wear on the actual trip. Test with the exact sock system you plan to use in the field, not whatever happens to be in the drawer.
Many experienced backpackers use a two-sock system during break-in specifically to manage friction: a thin, moisture-wicking liner sock, often a lightweight synthetic or silk blend, worn under a thicker cushioned hiking sock, usually merino wool or a wool-synthetic blend. The idea is that friction happens between the two sock layers rather than between sock and skin, which reduces blister formation while the boot's interior is still working out its rough edges.
If you are using this system, it is worth testing both the double-layer setup and a single thicker sock on separate walks, because switching sock thickness mid-trip changes the internal volume of the boot and can undo fit adjustments you thought you had settled. Some hikers find the liner-sock system unnecessary once boots are fully broken in and drop it for the actual trip; others keep it permanently. Either is fine, but decide during the break-in period, not on day one of the trip.
A quick comparison of sock approaches
| Sock Setup | Best For | Trade-off |
|---|---|---|
| Single midweight wool sock | Boots that already fit well, moderate temperatures | Less friction buffering if boot is still stiff |
| Thin liner + thick wool sock | New or borderline-tight boots, longer trips | Adds bulk, may require a half-size larger boot |
| Cushioned single sock with reinforced heel | Hikers prone to heel blisters specifically | Less adjustable than a two-layer system |
Identifying Pressure Points Early
The point of short walks is largely diagnostic: you are looking for specific, repeatable sources of discomfort before they become injuries. Pay attention to sensations that show up in the same spot more than once, since a one-off ache is often just fatigue, while a recurring pressure point is almost always a fit or material issue.
Common trouble spots and what they usually indicate:
- Heel slip: If your heel lifts noticeably inside the boot on the uphill portion of a walk, this is often a lacing issue rather than a sizing issue, though in some boots it points to a heel cup that is simply too wide for your foot shape.
- Pressure across the top of the foot: Usually means the boot is laced too tightly at that point, or the tongue padding is thinner than your foot needs. Loosening the lacing over the instep, rather than tightening it further, often resolves this.
- Toe box tightness on descents: If your toes hit the front of the boot going downhill, the boot may be a half-size too small, or the lacing needs to be tighter through the ankle to prevent your foot from sliding forward inside the boot.
- Hot spot on the outside of the little toe or the Achilles tendon: Often caused by a specific seam or overlay in that boot model rubbing against a bony area. This is sometimes fixable with a moleskin patch applied before the hot spot forms, but persistent rubbing in the same spot after multiple walks is a sign the boot's shape does not suit your foot.
If a hot spot appears in the same location across two or three separate walks despite lacing adjustments, that is generally a signal worth taking seriously rather than pushing through. A boot that continues to cause the same irritation after reasonable troubleshooting is not likely to resolve itself over more miles, and a podiatrist or an experienced outdoor retailer's fitting staff can help determine whether the issue is the boot, the sock, or an underlying foot shape consideration that needs a different last entirely.
Adjusting Lacing Patterns for Fit Issues
Lacing is the most underused tool in the break-in process, largely because most people learn one lacing pattern and stick with it regardless of the problem they are trying to solve. Different lacing techniques address different fit issues, and experimenting with them during short walks costs nothing but a few minutes.
For heel slip, a heel-lock lacing technique, sometimes called a lace lock or surgeon's knot at the top eyelets, creates a loop that pulls the heel back into the heel cup and reduces vertical movement. This involves crossing the laces normally up to the last two eyelets, then threading each lace through the eyelet on the same side to form a small loop before crossing and tying as usual.
For pressure across the top of the foot or instep, skipping an eyelet at the point of pain, known as gap lacing, relieves localized pressure while keeping the rest of the lacing snug. For a wider forefoot that feels pinched, lacing more loosely through the bottom two or three eyelets before tightening normally above them gives the front of the foot more room without sacrificing ankle support.
It is worth trying these adjustments on a short walk before assuming a boot simply does not fit. A surprising number of boots that feel wrong out of the box feel entirely different once laced with a technique matched to the specific problem, and this costs nothing compared to returning boots and starting over with a new pair.
Timeline: How Many Weeks to Plan Ahead
The honest answer depends on the boot's stiffness, the materials, and how much your feet tend to protest new footwear, but a general planning window is useful. For most synthetic or lighter-weight hiking boots, three to four weeks before a trip is a comfortable margin. For stiffer, full-grain leather backpacking boots designed for heavy loads and rugged terrain, six to eight weeks gives more room for the leather to soften and for you to catch and fix problems without time pressure.
A rough week-by-week structure for a six-week timeline:
- Weeks one and two: Short walks around the house and neighborhood, no pack, focused purely on identifying obvious fit problems.
- Weeks three and four: Local trail walks with a light pack, testing sock systems and lacing adjustments, gradually increasing distance.
- Week five: One or two full-load shakedown hikes matching your intended trip conditions as closely as possible.
- Week six: Light maintenance walks only, allowing feet to recover before departure rather than adding new stress.
If you are working with a shorter runway than this, prioritize the full-load shakedown hike over sheer number of short walks. A single realistic test under actual trip conditions tells you more than five easy neighborhood strolls, though it should still be preceded by at least one or two shorter walks so you are not discovering a serious fit problem for the first time under load.
Common Mistakes
A few patterns show up repeatedly among hikers who end up with foot problems on multi-day trips despite having "broken in" their boots:
- Testing boots only on pavement or flat ground, then discovering on trail that descents cause toe jamming that flat walking never revealed.
- Buying boots a half-size too small on the assumption that leather will stretch enough to compensate, when in practice most modern boot materials stretch only marginally.
- Ignoring a recurring hot spot because it "wasn't that bad" on a short walk, then having it become a serious blister on day two of a five-day trip.
- Switching sock thickness or brand right before departure without retesting fit, which changes internal boot volume more than people expect.
- Waiting until the week before a trip to start the break-in process at all, leaving no time to address problems or, if necessary, exchange the boots.
Next Steps
Start the process earlier than feels necessary, since a boot that seems fine after one short walk can still reveal problems on the fourth or fifth outing. Test with your actual trip socks and, if you use insoles beyond the factory ones, break those in as part of the same process rather than swapping them in later. Keep a simple mental or written note of where any discomfort occurs and whether it repeats, since that pattern is more informative than any single walk's overall impression.
If a persistent pressure point does not resolve after trying a different lacing pattern and a different sock combination, treat that as useful information rather than something to push through: either the boot needs to be exchanged for a different size or model, or a fitting specialist, and in some cases a podiatrist, should look at the underlying foot shape issue before you commit those boots to a multi-day trip.